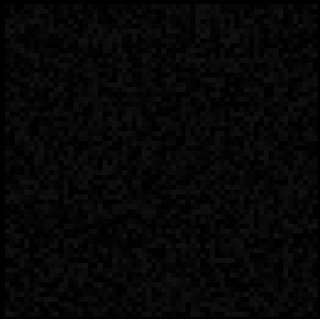
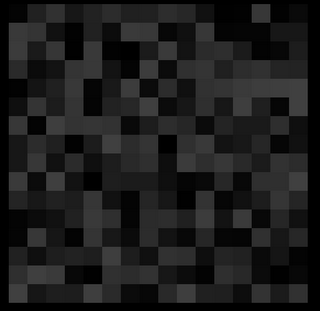
Some high frequency noise (note how dark it is (low amplitude)) and some lower frequency noise, This is brighter (higher amplitude) so it has a more pronounced effect on the image.
So what's the point of these pictures? Well, where it gets interesting is when you start adding them together. Check out this picture of 6 octaves of noise added together:
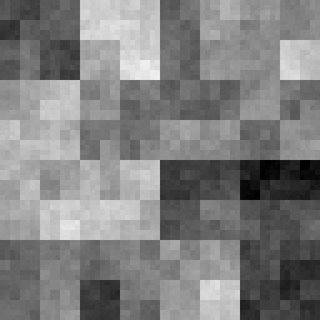 Looks pretty neat, doesn't it? Still not very useful, though, unless you want to make floor tiles or a neat picture to hang on your wall. The real magic happens when we individually blur each of the layers, or "octaves" of noise. So far my program only does this with linear blurring (rather than Gaussian or Bicubic that you'll see in Photoshop), but the results are still strikingly different. Check it out:
Multiple octaves of THIS....

Create THIS!

Pretty cool, huh?
Finally, the last thing I've done with these images (so far), is used a GLSL shader to create a thresholding effect (like Photoshop's "Levels" command). Basically what the thresholding does is look at the value for a particular pixel. If that value is below the lower limit of the threshold, the pixel is turned black. If it's above the upper limit, it's turned white. If it's in between, it's set to an appropriate greyscale value. The effect is I can create sorts of image out of the same noise data. Behold!
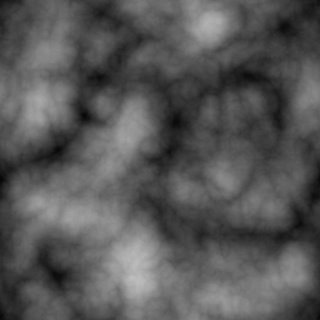
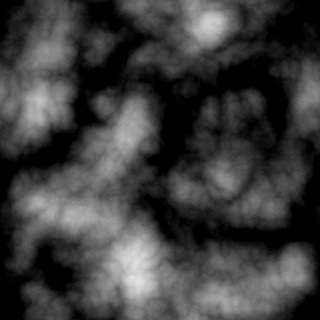
The original image:
And the two thresholded versions. The one on the right could be used for clouds,
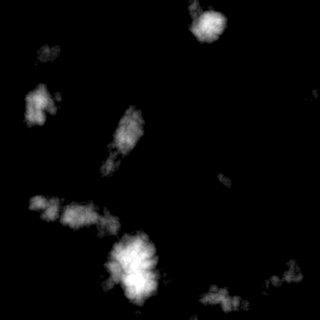 whereas the one on the left could be used as a height map for Terrain.
So there you have it. My adventures thus far with Perlin Noise. I'm going to experiment with creating animated Perlin Noise soon, and hopefully apply that to water. I'll let you know how it goes. Until next time....
[ken]